
 Manicures have always been an indulgent activity of mine, for what is more fun, relaxing and cathartic (think Elle in Legally Blonde :p) than a manicure session? Still, if you’re tired of paying a bundle for your manicures (they may not cost that much per session, compared to, say, that bag you just bought, but saving on a manicure a month can save you enough money for another bag!), here’s a tutorial on how to do your own manicure.
TOOLS
- Nail polish remover or wipes
- Cotton Pads (not cotton balls; they tend to break off in bits of lint)
- Extra Fine Emery Board
- Cuticle Oil (olive oil or body lotion will also do)
- Cuticle Cream
- Orangewood Stick (a soft wooden stick)
- Base Coat Polish
- Colour Polish
- Top Coat or Sealant
- Hand lotion
Investing in these tools may cost you a bit of money initially, but certainly no more than the cost of one visit to a professional manicurist. Plus, you’ll have them at your disposal for the next time you give yourself a manicure. All these items can be found at your local drug store like Watsons or Guardian.
Allow yourself 30 minutes – about 15 for prep work and application and 15 for nails to dry. You can shrink that time by using drying aids, like speedy topcoats or finishing sprays (you can also dunk freshly painted nails in cold water to speed the drying process).
METHOD
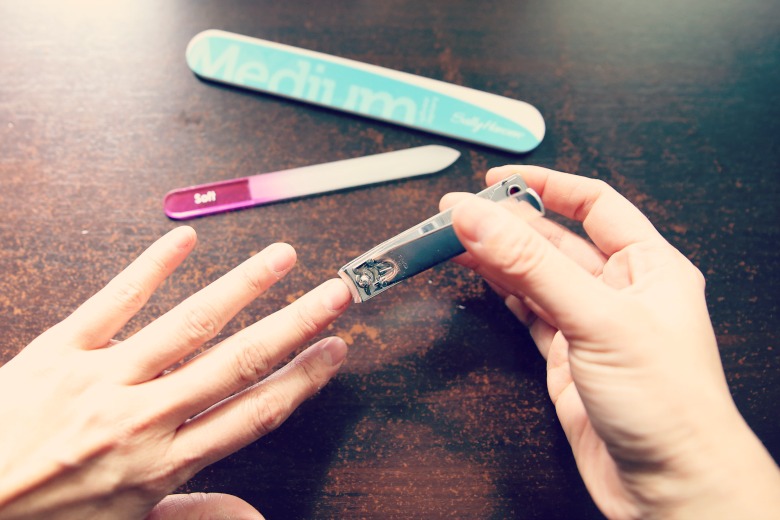
1. Remove old nail polish with moistened cotton dipped in nail polish remover. Press over the nail for a few seconds to soften the polish. Then with a firm movement, bring the cotton from the base of the nail to the tip. Repeat until all the polish is gone. Non-acetone polish remover is less drying to nails and cuticles than regular formulas.

2. Shape your nails with an emery board while they’re dry, before soaking. File each nail tip from corner to center; do not file in a seesaw motion because it causes ridges in the nail and nail splitting. Overly abrasive files, including anything metal, will promote peeling so choose a fine-grade emery board.
Some suggestions on the nail shape to choose:
- Petite hands and fingers look best with almond shaped nails.
- Short and stocky fingers look best with squared-off oval shaped nails.
- Heavy set hands look best with squared off ends. This is also true for fingers with wide nail beds (the main body of the nail that defines its shape).

3. Soften nails and cuticles in a bowl of warm water mixed with cuticle oil, olive oil, or body lotion for about 10 minutes. Dry off and apply cuticle cream or lotion. Gently ease cuticles back by making tiny circles against the cuticle with an orangewood stick wrapped in cotton (a thin wooden stick with a slant-edge tip at both ends, available in drugstores).
4. Rub cuticles with a warm, damp washcloth in the same gentle way. The circular motion helps slough away that white membrane, which is dead cuticle skin. Many salons cut cuticles to get a clean-looking result in little time, but it’s not healthy: The cuticle forms a protective seal between the nail and the skin to prevent irritants from getting into the skin, and cutting it can result in infection.
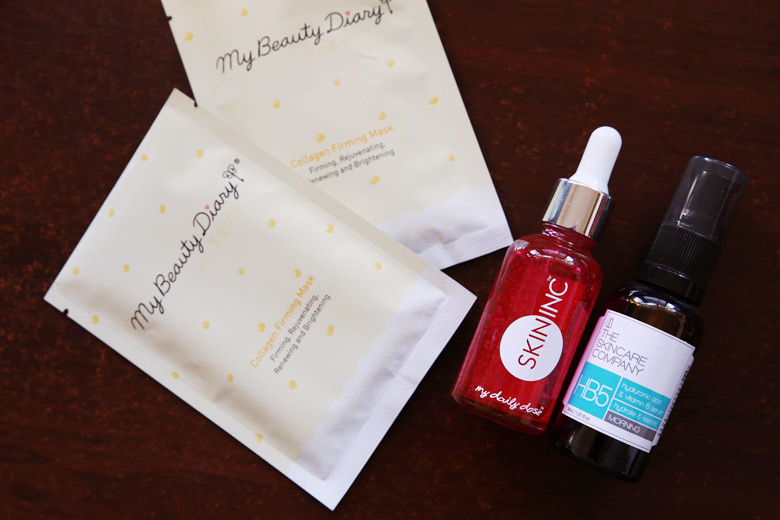
5. Apply a base coat polish (choose a quick-drying one). After it dries, apply a color polish of your choice. I suggest investing on nail polish of known brands like Sally Hansen, Revlon, etc. The quality of nail polish of cheapo brands are compromised, and they tend to stain.

6. Sweep on the polish in three strokes, from base to tip. Go up the centre, and then on each side. Use one dip per nail, and wipe the brush once per dunk before applying to nail. This helps you apply the thinnest coats possible. A shiny and protective topcoat will offer a long-lasting protective shell. This helps to strengthen the nail and prevent chipping of the nail polish. You can also use the base coat polish as a top coat, provided it is not matte.
7. Finally, after your nails are dry, apply a moisturizing cream or lotion to your hands and cuticles.
There ya go. A how-to on doing your own manicure. You can save a lot of money on salon manicures once you’re used to doing it on your own.
If you’re not so keen on doing it on your own, do it with your girlfriends. Have a night in with the girls, do girly things, like give each other manicures. I did it at one of my best friend’s hen night, and we had such a blast. Plus, it’s a great way to check out all the different colours your friends have which you don’t.
Have fun!
Question of the day: What’s your favourite brand of nail polish?
Source: Wired Berries and SoYouWanna.com


i know its so passe but….
1.OPI
2.Sally Hansens
Fashionasia: Ooooh, I like OPI too. Normally choose that when I go for manis. Too bad they’re so expensive on their own.