Hello beautyholics and welcome to the 4th episode of the Rudiments of Rouge! 😀
After talking about the two popular types of blushes, today I’d like to share with you on how to apply blush on your cheeks.
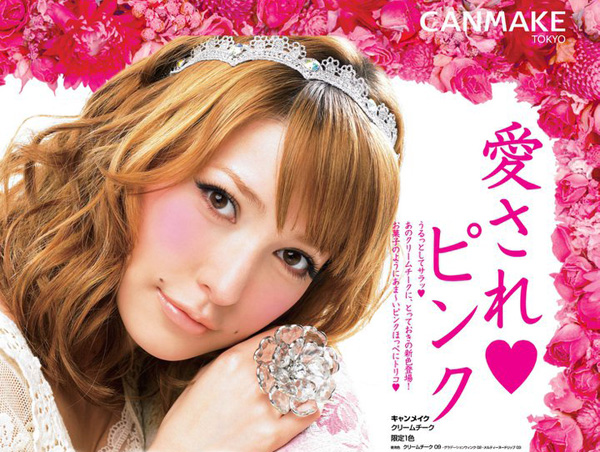
I’m not speaking for all women, of course, but a majority of them aren’t keen on using blush because they’re worried of how red it will make their faces look. The biggest apprehension is that the rouged cheeks won’t look natural. It might look like pink china doll cheeks or worse, look tarty.
No no, I don’t mean she looks tarty!
I totally get that. Heck when I first started using blush 10 years ago, I used one that’s so sheer and with such a light hand that you can’t even tell I’m wearing blush! It was like, and the point of wearing blush was …??
*cricket sounds*
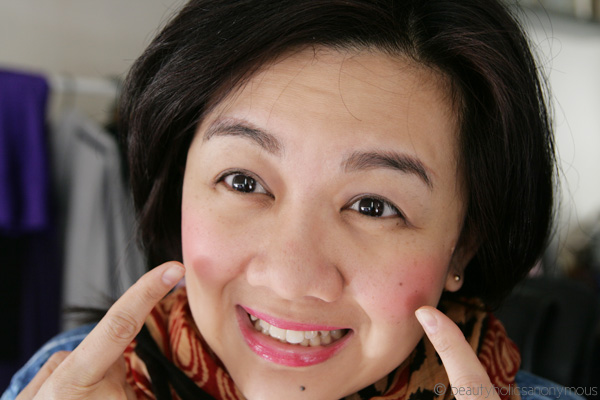
It doesn’t have to be like that. Blush has to be applied to a point where it’s visible on the cheeks but not so much that it draws immediate attention to it. The best way to describe a good application of blush is when you look like you’ve just had a good exercise. The flush that naturally appears on your cheeks is what you’re aiming for. That’s a start. If you’re prone to redness or have rosacea, then there’ll be a lot more redness to the face, not just the cheeks. The redness might spread past the apples of the cheeks to the jaw. That’s not the level of flush we’re looking for.
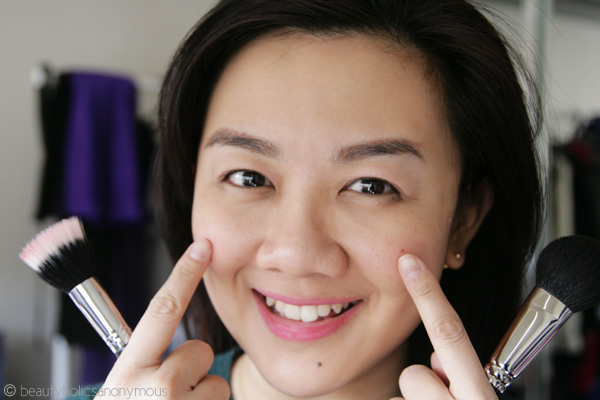
By the way, these methods are just for blush application. It doesn’t include contouring or highlighting, which will be covered in a future post (y’know, once I master them myself! :P). Bear in mind though as I’m not a makeup artist nor an expert in makeup. These application tips work well for the shape of my face. If you have a different face shape (long, petite, round, square and so on), it may not work for you. My best tip for you is always to experiment with different methods and see which one works best for you. 🙂
Read More »